How to test sign-up and verification emails with an API
By the YelMail teamUpdated 9 min read
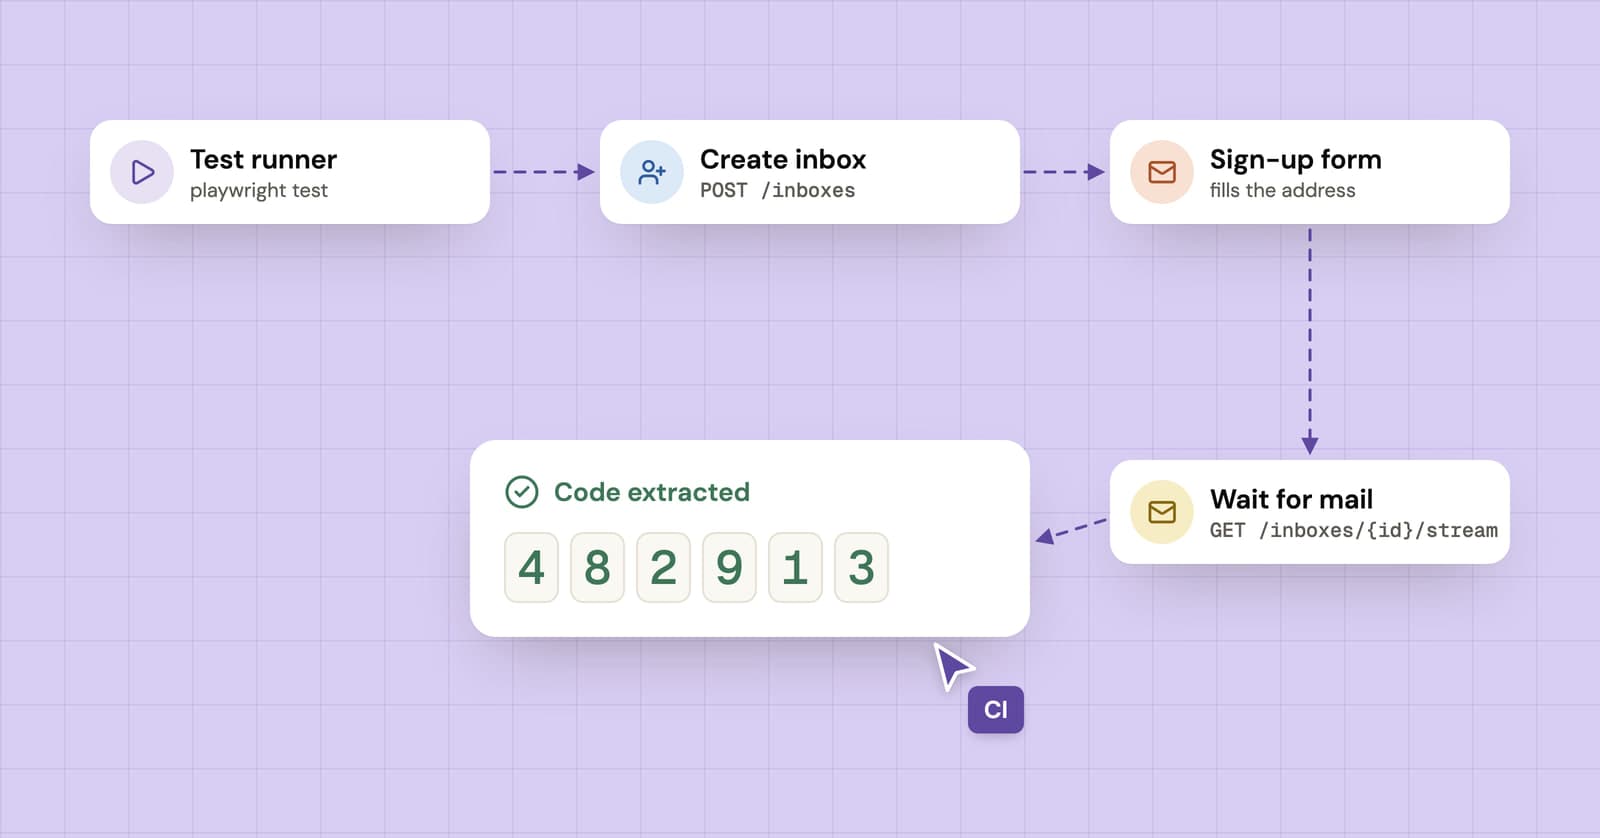
To test sign-up and verification emails end to end, create a fresh disposable inbox with an email testing API, enter its address in your sign-up form, then poll or stream the inbox until the email arrives and extract the code or link with a regex. YelMail Premium includes a REST API built for this.
Why test verification emails end to end?
Because a mocked mailer only proves your code tried to send an email, not that a real email arrived with a working code or link. End-to-end tests catch the bugs real users hit.
Bugs a real inbox catches:
- A verification link that points at localhost or the wrong environment
- Template variables that render blank or as raw placeholders
- A code in the email that does not match the one the server expects
- Missing or wrong mail settings after a deploy
- Expiry logic that rejects a code too early
- Emails that never send because a background job is broken
A disposable inbox API gives every test run a real address that receives real mail, so you can test the whole flow the way a new user experiences it.
What do you need to get started?
You need a YelMail Premium plan, an API key and any HTTP client. Everything else is plain fetch calls.
- API key. Create one in your account under API keys. Keys start with
tm_and are sent as a bearer token:Authorization: Bearer tm_.... - Base URL.
https://yelmail.com/api/v1 - Response shape. Successful responses are
{ data }. Errors are{ error: { code, message } }with a matching HTTP status. - Rate limit. 120 requests per minute per key. Every response includes an
X-RateLimit-Remainingheader. - Docs. The Temp Mail API reference lists every endpoint, and an OpenAPI spec is available at
/api/v1/openapi.json.
How does the email testing flow work?
The flow is four API calls wrapped around your normal UI test: create an inbox, wait for a message, read it, then delete the inbox. Your test does the sign-up in between.
| Step | Endpoint | What it does |
|---|---|---|
| 1 | POST /inboxes |
Creates an inbox and returns its id and address |
| 2 | Your app | The test fills in the sign-up form with that address |
| 3 | GET /inboxes/{id}/messages or GET /inboxes/{id}/stream |
Waits for the email to arrive |
| 4 | GET /messages/{id} |
Returns the full message with text and sanitized HTML |
| 5 | DELETE /inboxes/{id} |
Deletes the inbox and its emails |
Step 1: Create an inbox
Send a POST to /inboxes. An empty JSON body gives you a random address, and an optional label makes test inboxes easy to spot.
curl -X POST https://yelmail.com/api/v1/inboxes \
  -H "Authorization: Bearer tm_your_key" \
  -H "Content-Type: application/json" \
  -d '{"label":"CI"}'
The response contains the new inbox and an access token (trimmed here):
{
  "data": {
    "inbox": {
      "id": "INBOX_ID",
      "address": "[email protected]",
      "domain": "example.com",
      "label": "CI",
      "isCustom": false
    },
    "token": "..."
  }
}
Keep inbox.id for the next calls and type inbox.address into your form. When you call the API with your key, you do not need the token.
Want a predictable address instead? Premium lets you choose the part before the @. Call GET /domains to get a domainId, then create the inbox with { "localPart": "signup-test", "domainId": "..." }.
Step 2: Wait for the email
Poll GET /inboxes/{id}/messages every couple of seconds until a matching message appears, and give up at a timeout. Messages come back newest first:
{
  "data": {
    "items": [
      {
        "id": "MESSAGE_ID",
        "inboxId": "INBOX_ID",
        "from": { "name": "Acme", "address": "[email protected]" },
        "subject": "Your verification code",
        "snippet": "Your code is 482913. It expires in 10 minutes.",
        "hasAttachments": false,
        "read": false,
        "receivedAt": "2026-10-01T12:00:05.000Z"
      }
    ],
    "nextCursor": null
  }
}
Polling every 2 seconds uses about 30 requests per minute for one waiting test. That is well under the limit on its own, but it adds up when many tests wait in parallel.
Or stream new mail with Server-Sent Events
If you prefer push to polling, open GET /inboxes/{id}/stream. It is a Server-Sent Events stream that sends a ready event, then a message event with a messageId each time an email arrives, plus a ping every 25 seconds to keep the connection open.
The browser EventSource API cannot send an Authorization header, so in Node read the stream with fetch. This function uses the BASE and KEY constants from the helper module in the full example below:
export async function nextMessageId(inboxId: string, timeoutMs = 60_000): Promise<string> {
  const res = await fetch(`${BASE}/inboxes/${inboxId}/stream`, {
    headers: { Authorization: `Bearer ${KEY}` },
    signal: AbortSignal.timeout(timeoutMs),
  });
  if (!res.ok || !res.body) throw new Error(`Stream unavailable (${res.status})`);

  const reader = res.body.pipeThrough(new TextDecoderStream()).getReader();
  let buffer = "";
  try {
    while (true) {
      const { value, done } = await reader.read();
      if (done) throw new Error("Stream closed before an email arrived");
      buffer += value;
      const events = buffer.split("\n\n");
      buffer = events.pop() ?? "";
      for (const event of events) {
        if (!event.startsWith("event: message")) continue;
        const data = event.split("\n").find((line) => line.startsWith("data: "));
        if (data) return JSON.parse(data.slice(6)).messageId;
      }
    }
  } finally {
    await reader.cancel().catch(() => {});
  }
}
Two tips: check the message list once right after the stream opens, in case the email arrived before you connected, and fall back to polling if the stream cannot be opened.
Step 3: Read the message and extract the code
Fetch the full message with GET /messages/{id}. It returns the summary fields plus to, text, sanitized html and attachments. Prefer the text part for extraction, because it is simpler to match than HTML.
// A 6-digit one-time code
const code = message.text?.match(/\b(\d{6})\b/)?.[1];

// A code next to known wording, if the email contains other numbers
const anchored = message.text?.match(/code is (\d{6})/i)?.[1];

// A verification or magic link
const link = message.text?.match(/https:\/\/\S+verify\S*/)?.[0];
Make the pattern as specific as your email allows. A bare six-digit match can grab a year, an order number or a phone extension, so anchor it to nearby words when you can.
Full example: Playwright with TypeScript
Here is a small helper module plus a test that signs up, reads the code and verifies the account. It uses the built-in fetch in Node 18 and later, so there are no extra dependencies.
// tests/helpers/mail.ts
const BASE = "https://yelmail.com/api/v1";
const KEY = process.env.MAIL_API_KEY;

export type Inbox = { id: string; address: string };
export type MessageSummary = { id: string; subject: string; from: { address: string } };
export type Message = MessageSummary & { text: string | null; html: string | null };

async function api<T>(path: string, init: RequestInit = {}): Promise<T> {
  const res = await fetch(`${BASE}${path}`, {
    ...init,
    headers: { Authorization: `Bearer ${KEY}`, "Content-Type": "application/json" },
  });
  const body = await res.json();
  if (!res.ok) throw new Error(`${res.status} ${body.error?.code}: ${body.error?.message}`);
  return body.data as T;
}

export async function createInbox(label = "e2e"): Promise<Inbox> {
  const { inbox } = await api<{ inbox: Inbox }>("/inboxes", {
    method: "POST",
    body: JSON.stringify({ label }),
  });
  return inbox;
}

export async function waitForMessage(
  inboxId: string,
  match: (m: MessageSummary) => boolean = () => true,
  timeoutMs = 60_000,
): Promise<Message> {
  const deadline = Date.now() + timeoutMs;
  while (Date.now() < deadline) {
    const { items } = await api<{ items: MessageSummary[] }>(`/inboxes/${inboxId}/messages?limit=10`);
    const hit = items.find(match);
    if (hit) return api<Message>(`/messages/${hit.id}`);
    await new Promise((resolve) => setTimeout(resolve, 2_000));
  }
  throw new Error(`No matching email in inbox ${inboxId} after ${timeoutMs} ms`);
}

export function extractCode(message: Message): string {
  const code = (message.text ?? "").match(/\b(\d{6})\b/)?.[1];
  if (!code) throw new Error(`No 6-digit code in "${message.subject}"`);
  return code;
}

export async function deleteInbox(inboxId: string): Promise<void> {
  await api(`/inboxes/${inboxId}`, { method: "DELETE" });
}
// tests/signup.spec.ts
import { expect, test } from "@playwright/test";
import { createInbox, deleteInbox, extractCode, waitForMessage } from "./helpers/mail";

test("a new user can sign up and verify their email", async ({ page }) => {
  test.setTimeout(90_000);
  const inbox = await createInbox("signup-spec");

  try {
    await page.goto("/signup");
    await page.getByLabel("Email").fill(inbox.address);
    await page.getByLabel("Password").fill("a-long-test-password-123");
    await page.getByRole("button", { name: "Create account" }).click();

    const email = await waitForMessage(inbox.id, (m) => /verify|code/i.test(m.subject));
    await page.getByLabel("Verification code").fill(extractCode(email));
    await page.getByRole("button", { name: "Verify" }).click();

    await expect(page.getByText("Your email is verified")).toBeVisible();
  } finally {
    await deleteInbox(inbox.id);
  }
});
Swap the labels, button names and success text for the ones in your app. For magic links, match the link instead of the code and call page.goto(link).
Using Cypress instead
The same helpers work in Cypress. Register them as tasks so the API key stays on the Node side, then call them with cy.task:
// cypress.config.ts
import { defineConfig } from "cypress";
import { createInbox, deleteInbox, extractCode, waitForMessage } from "./tests/helpers/mail";

export default defineConfig({
  e2e: {
    setupNodeEvents(on) {
      on("task", {
        createInbox: () => createInbox("cypress"),
        waitForCode: async (inboxId: string) => extractCode(await waitForMessage(inboxId)),
        deleteInbox: async (inboxId: string) => {
          await deleteInbox(inboxId);
          return null;
        },
      });
    },
  },
});
In the spec, pass a longer timeout to the wait: cy.task("waitForCode", inbox.id, { timeout: 90_000 }).
Tips for reliable email tests
Reliable email tests come down to isolation, patience and cleanup: one inbox per test, realistic timeouts, and deleting inboxes when you are done.
Use a unique inbox per test
Sharing an inbox between tests leads to races where one test reads another test's email. Create a fresh inbox inside each test, or in a beforeEach hook, and pass its id along.
Match on subject or sender
Even in a fresh inbox, your app may send a welcome email and a verification email close together. Pass a matcher to waitForMessage that checks the subject or from.address.
Set timeouts that match reality
Email is not instant. Test mail often lands within seconds, but queues and retries on the sending side can add delay. A 60 second wait is a sensible default, and your test runner's own timeout must be longer than that.
Clean up after every run
Premium holds up to 25 inboxes at once, and creating more returns an error until you delete some. Delete inboxes in a finally block or afterEach hook. As a safety net, a scheduled job can call GET /inboxes and delete leftovers by label.
Stay under the rate limit
Each key allows 120 requests per minute. Watch X-RateLimit-Remaining, poll every 2 to 3 seconds rather than in a tight loop, and back off when you get a 429 with the code RATE_LIMITED. For large parallel suites, the event stream is lighter than polling.
Keep your API key secret
Store the key as a CI secret and read it from an environment variable. Never commit it. If a key leaks, revoke it in your account and create a new one.
Allow your test domain in staging
If your own app rejects disposable email domains, your tests will fail at the form. Add the test domain to an allowlist in staging. Our guide on why sites block temporary email explains how that blocking usually works.
Frequently asked questions
Do I need Premium to use the API?
Yes. Personal API keys come with YelMail Premium, which costs $7 per month or $69 per year. See Premium pricing for what is included.
How long are test emails kept?
On Premium, emails are kept for 30 days. Deleting inboxes after each test keeps you under the 25-inbox limit.
Can I choose the test address?
Yes. Send a localPart and a domainId from GET /domains when you create the inbox. Premium domains are included.
Can I download attachments in tests?
Yes. GET /messages/{id} lists attachments, and GET /messages/{id}/attachments/{attachmentId} downloads one. Premium accepts attachments up to 25 MB.
Can the API send emails?
No. YelMail is receive-only. Your app sends the email, and the API reads it.
Try it
Read the Temp Mail API docs, create a key, and add your first email test today. Want to see the inbox side first? Open a free temp mail inbox and send it a test email from your app.
Keep reading
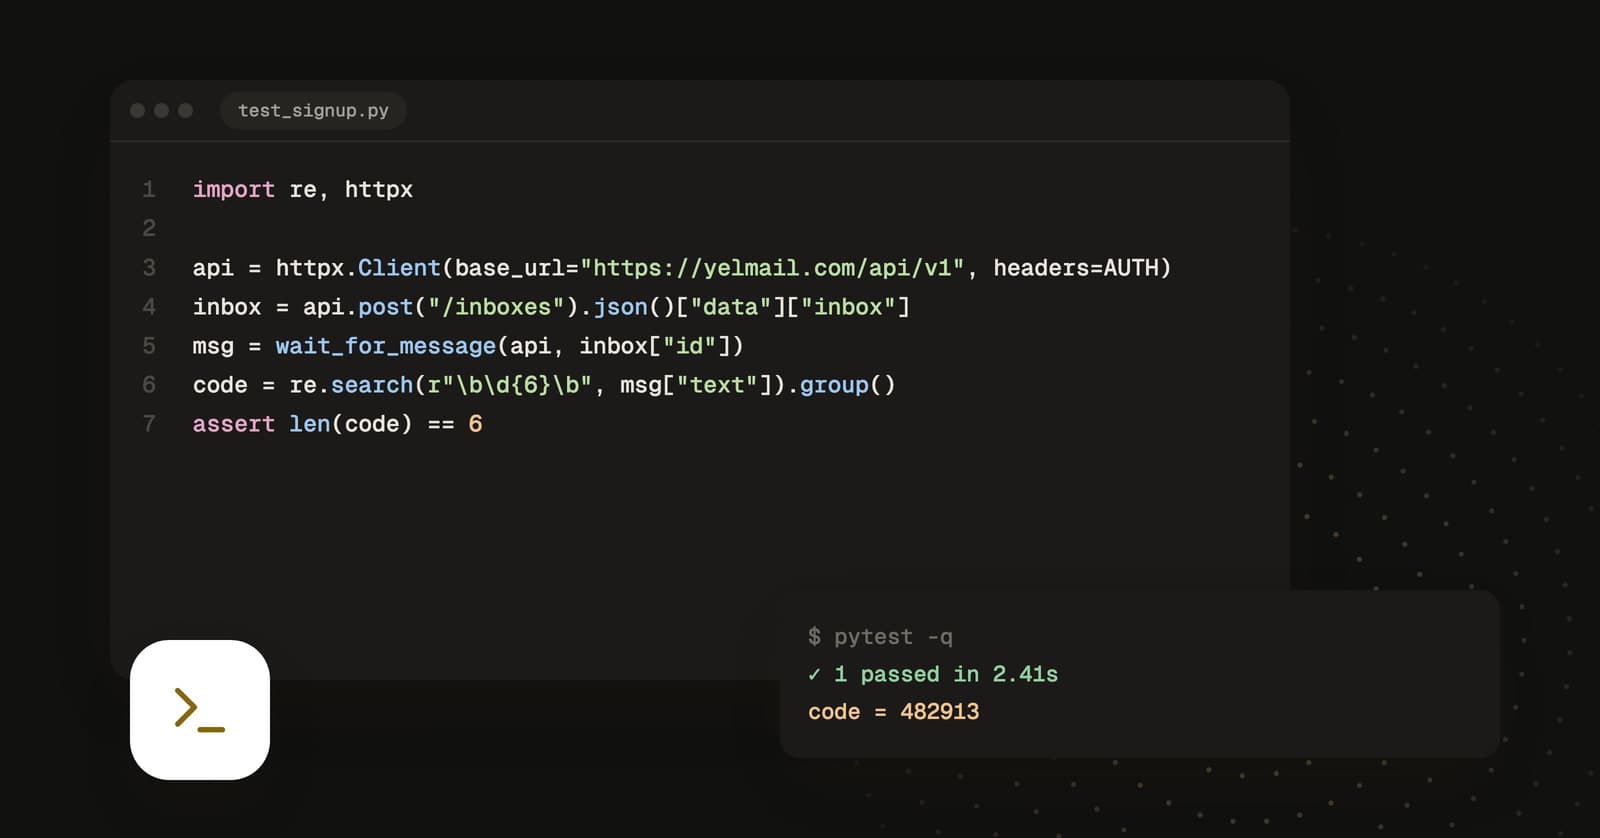
How to read verification emails in Python with a temp mail API
A working Python client for reading verification emails in tests: create a disposable inbox, wait for the message, extract the code or link, and delete the inbox afterwards.
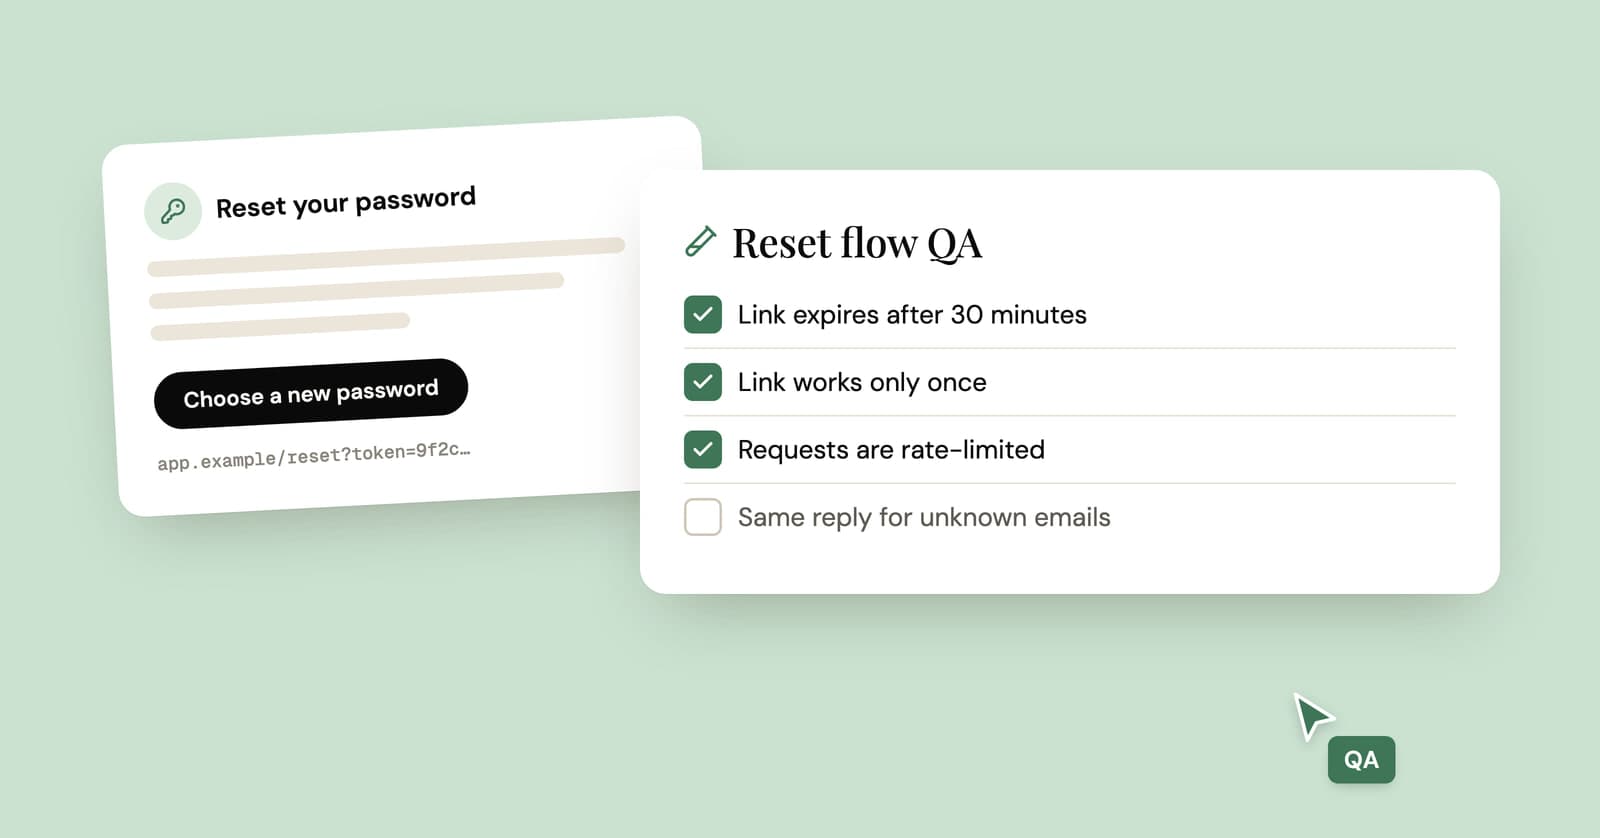
How to test password reset emails: a QA checklist
A practical checklist for testing a forgot-password flow end to end, from the request form to the confirmation email, with curl and pytest examples you can adapt.
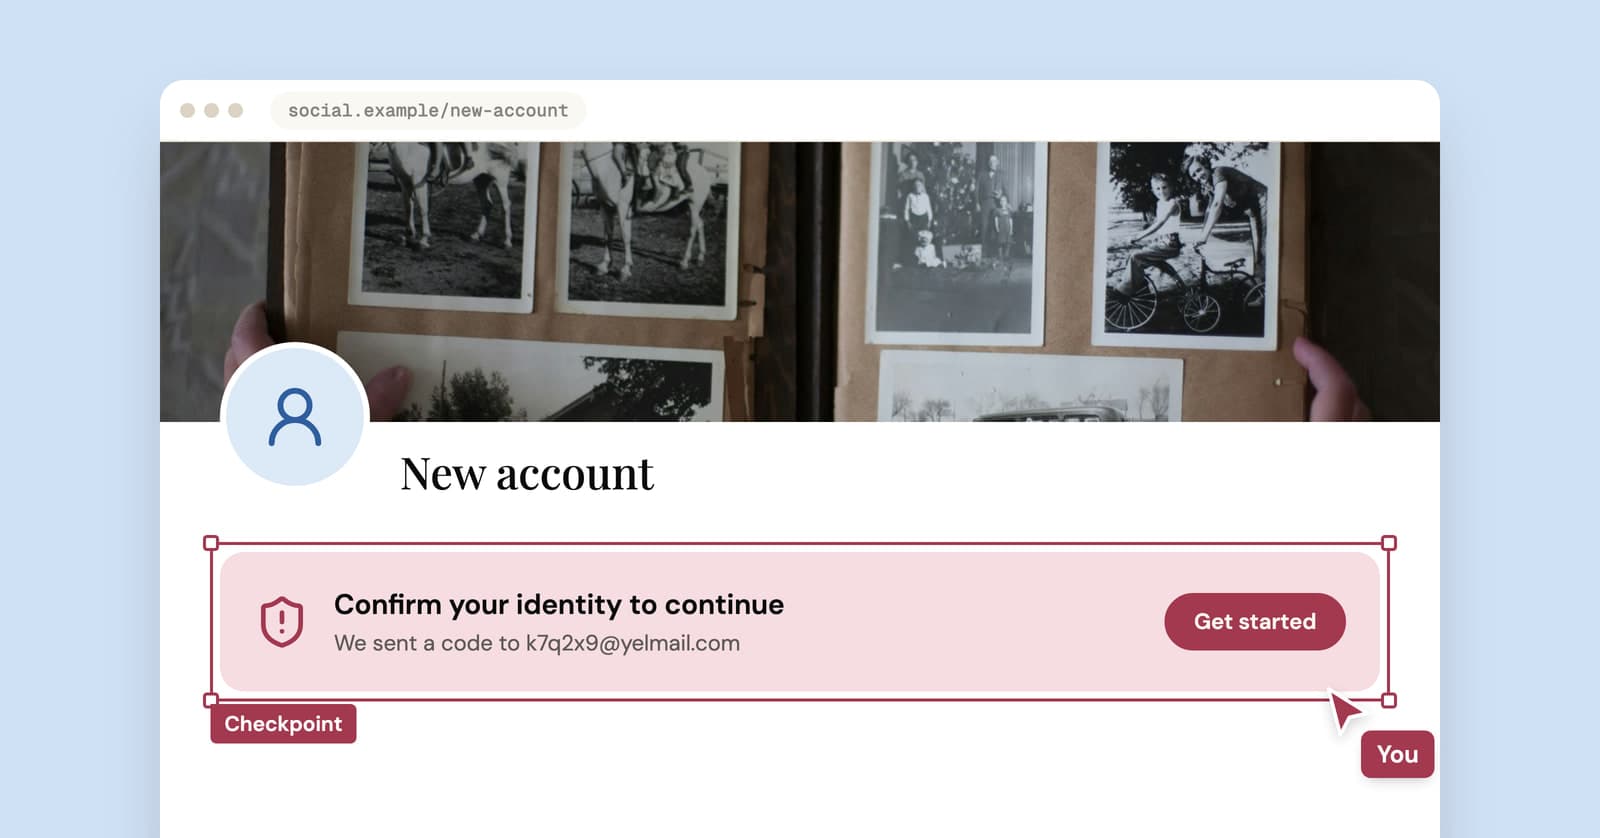
Temp mail for Facebook: why it backfires, and what to use instead
A temp address can get you past Facebook's sign-up code. Why it tends to backfire later, and better ways to keep Facebook out of your main inbox.